Looking for a fun, fuss-free treat that’s as delightful to make as it is to eat? This cake popsicles recipe might just be your new favorite. These charming little desserts—often called “cakesicles”—blend the flavor of classic cake pops with the playful shape of a popsicle. They’re ideal for birthdays, holidays, or a sweet afternoon project with kids. Best of all, they skip the oven entirely, staying true to no-bake goodness. From chocolate-dipped shells to creative decorations, we’ll walk you through how to make cake popsicles that look bakery-ready and taste even better.
What You Need for the Perfect Cake Popsicle
Getting ready to try a cake popsicles recipe at home? The best part is you won’t need anything fancy. With just a few pantry staples and a silicone mold, this treat comes together in no time. Whether it’s your first time or a new twist on an old favorite, having the right tools makes a big difference.
Essential ingredients breakdown
Every great cake popsicles recipe starts with crumbled cake—either from scratch or leftover. A simple vanilla or chocolate cake works well, but this is a great moment to get creative. Pair it with a scoop or two of frosting to hold the crumbs together. Whether you use homemade buttercream or a ready-made tub, the goal is a moldable texture—not too wet, not too dry.
Next comes the magic: melting chocolate or candy melts. This will form the outer shell of your cake popsicles. Add a teaspoon of coconut oil if you want an extra-smooth coating that hardens with a nice snap. The better the quality of your coating, the more impressive your results.
If you love quick treats like Caramel Chocolate Chip Cookie Ice Cream Sandwiches or Butter Pecan Ice Cream Sandwiches you’ll enjoy how effortless this cake popsicles recipe is from start to finish.
Special molds & tools
To shape each treat, use silicone cakesicle molds. They help the chocolate shell hold its shape and make unmolding easy. Popsicle sticks add charm and convenience.
Tools like an offset spatula and piping bag also make your decorating cleaner and quicker—just like when preparing Dubai Chocolate Strawberries. With the right setup, this cake popsicles recipe becomes a Pineapple Juice Cake project that delivers big on style and flavor.
Print
Cake Popsicles Recipe: Easy, Fun No-Bake Dessert for All Ages
- Total Time: 20 minutes
- Yield: 6 cake popsicles 1x
- Diet: Vegetarian
Description
A no-bake cake popsicles recipe that’s easy, fun, and perfect for any occasion. Made with simple ingredients and ready in just a few steps.
Ingredients
2 cups crumbled cake
1/3 cup frosting (buttercream or cream cheese)
1 1/2 cups chocolate or candy melts
1 tsp coconut oil (optional)
Sprinkles or toppings of choice
Instructions
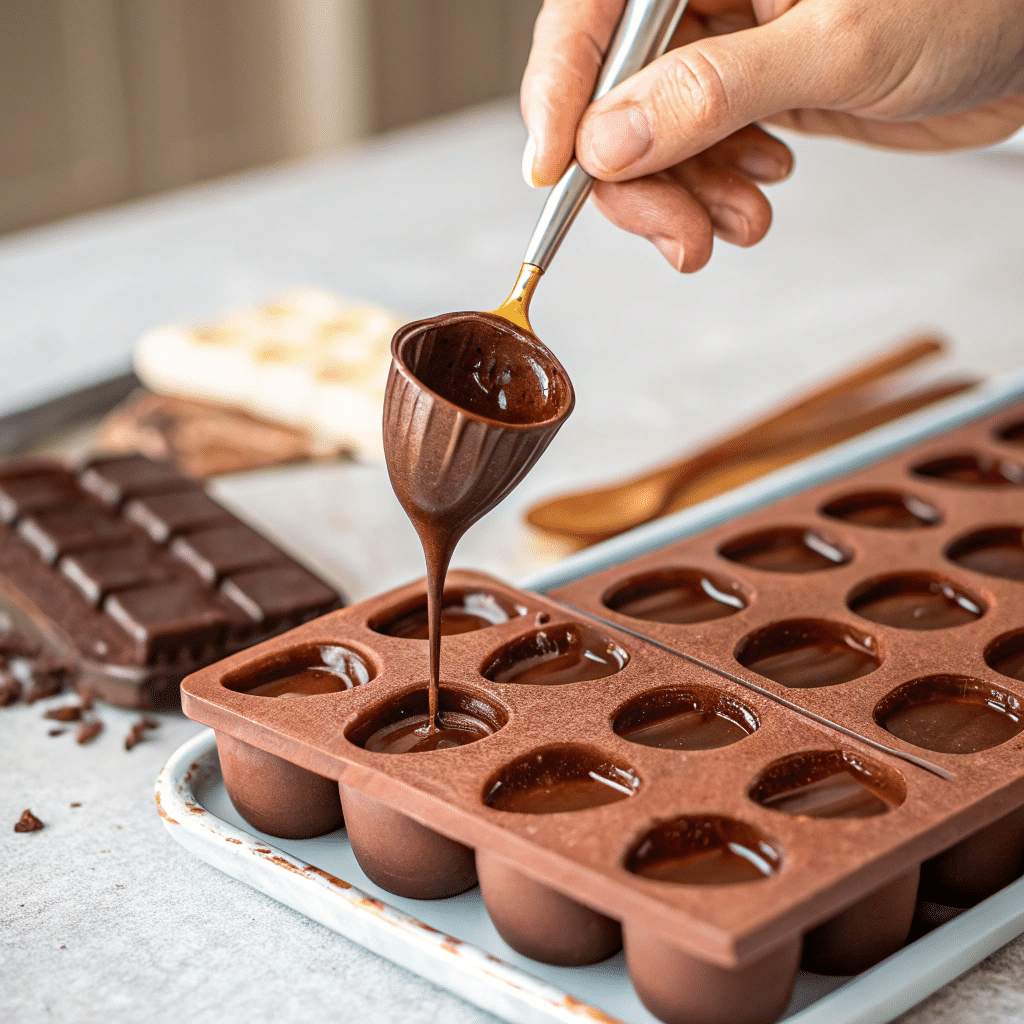
1. Melt chocolate and paint into silicone molds to form a shell.
2. Chill molds for 10 minutes until set.
3. Mix crumbled cake with frosting until doughy.
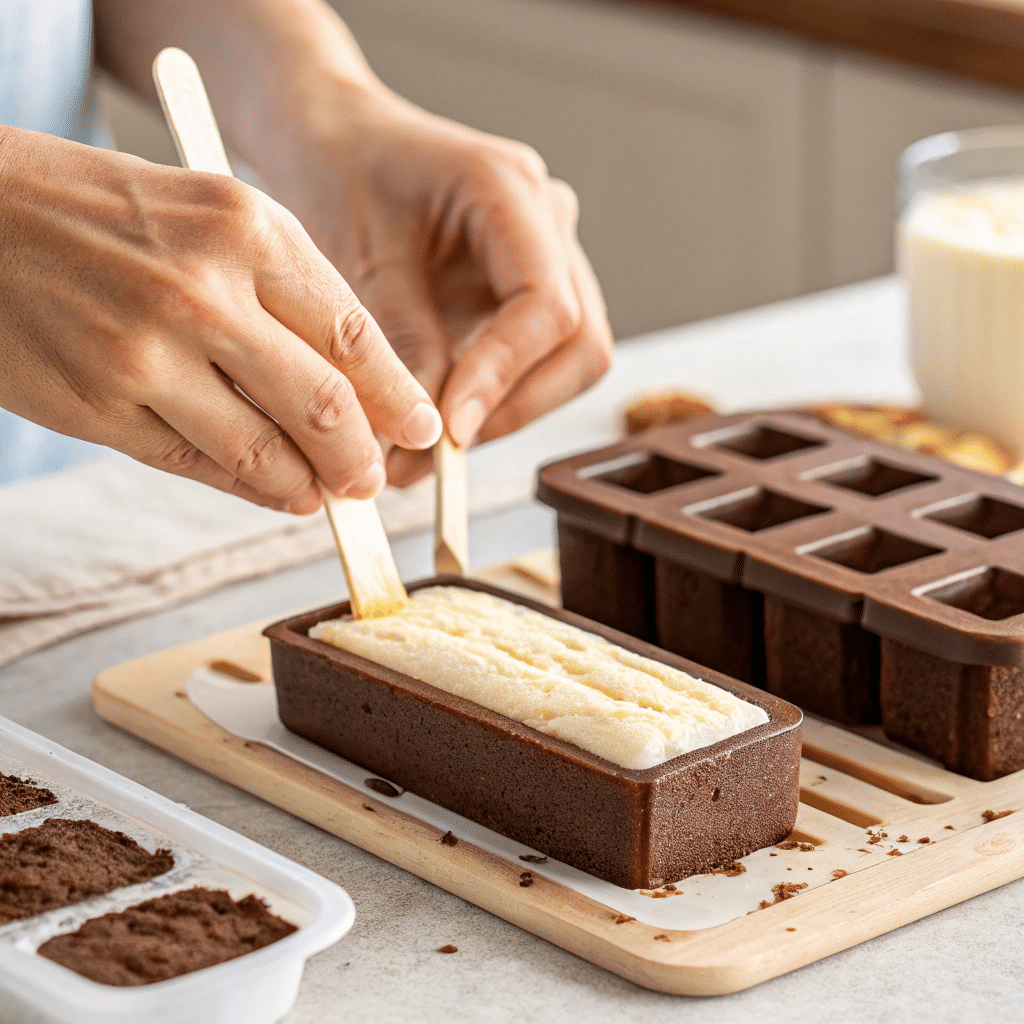
4. Press mixture into chocolate shells, insert popsicle sticks.
5. Seal with melted chocolate and decorate.
6. Chill until firm, then unmold and serve.
Notes
Use leftover cake or boxed cake for ease.
To freeze: wrap individually and store up to 3 months.
- Prep Time: 20 minutes
- Cook Time: 0 minutes
- Category: No-Bake Treats
- Method: No-Bake
- Cuisine: American
Nutrition
- Serving Size: 1 cake popsicle
- Calories: 240
- Sugar: 18g
- Sodium: 105mg
- Fat: 12g
- Saturated Fat: 7g
- Unsaturated Fat: 4g
- Trans Fat: 0g
- Carbohydrates: 28g
- Fiber: 1g
- Protein: 2g
- Cholesterol: 15mg
Step-by-Step Cake Popsicles Recipe Method
One of the best things about a cake popsicles recipe is how easy it is to follow, even with little hands in the kitchen. These steps will guide you from a chocolate shell to a beautiful, bakery-worthy finish—all without baking a thing.

Painting the shell & adding filling
To begin your cake popsicles recipe, melt your chocolate or candy melts until smooth. Spoon or brush a generous layer into each mold cavity, making sure to fully coat the sides and bottom. This chocolate shell creates the signature popsicle shape. Chill for about 10 minutes, or until the coating is set.
Meanwhile, prepare your cake mixture. Use any flavor you like—vanilla, chocolate, red velvet—and crumble it finely in a bowl. Add frosting in small amounts until the mix holds together like dough. This step is key for a smooth, scoopable filling that won’t crack the outer shell.
Once the molds are ready, press the cake mixture inside, making room for the popsicle stick. Don’t overfill. You’ll need space at the top to add more melted chocolate, which seals your cake popsicles completely.
If you’ve tried recipes like Glow-in-the-Dark Candy Popcorn Bombs, you’ll already be familiar with the scoop-and-press technique.

Sealing and decorating your popsicles
Finish your cake popsicles recipe by adding a final layer of melted chocolate on top of the cake mix. Smooth with an offset spatula, then chill again until firm.
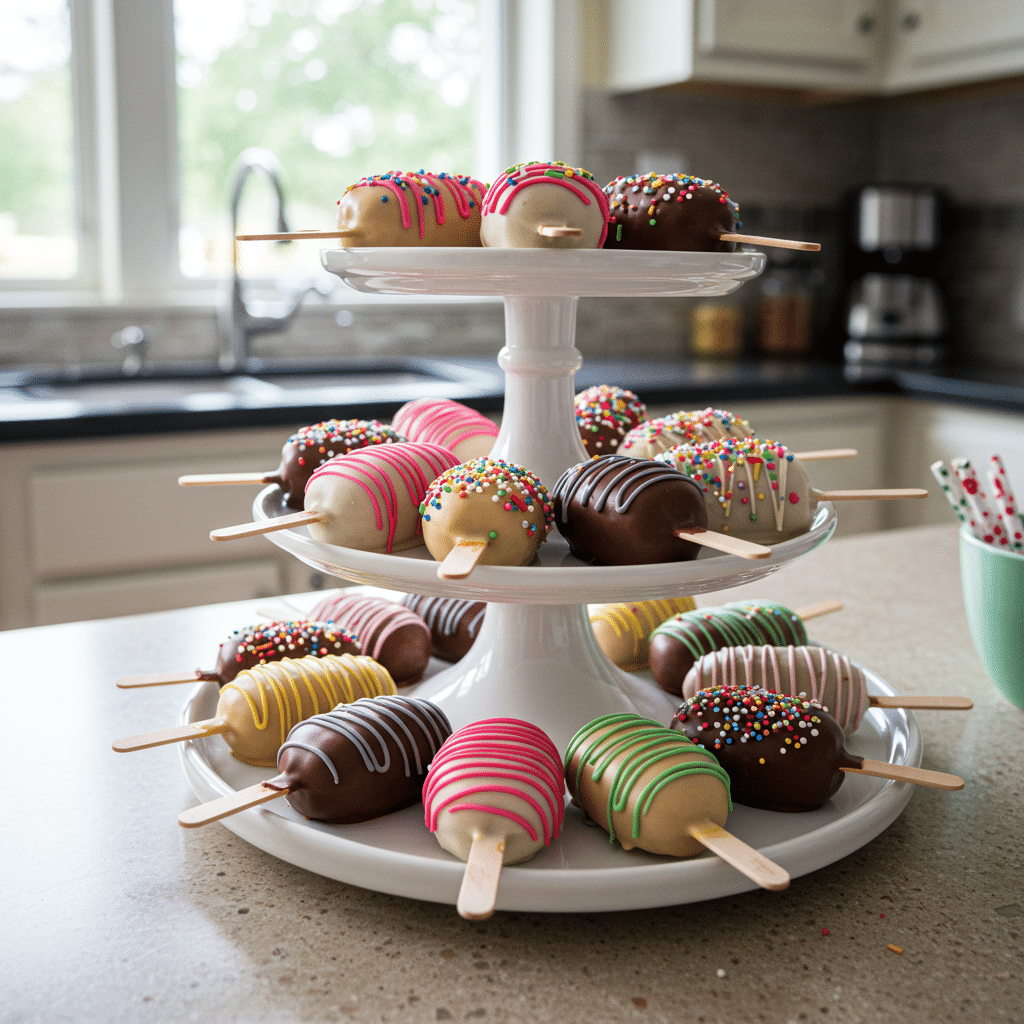
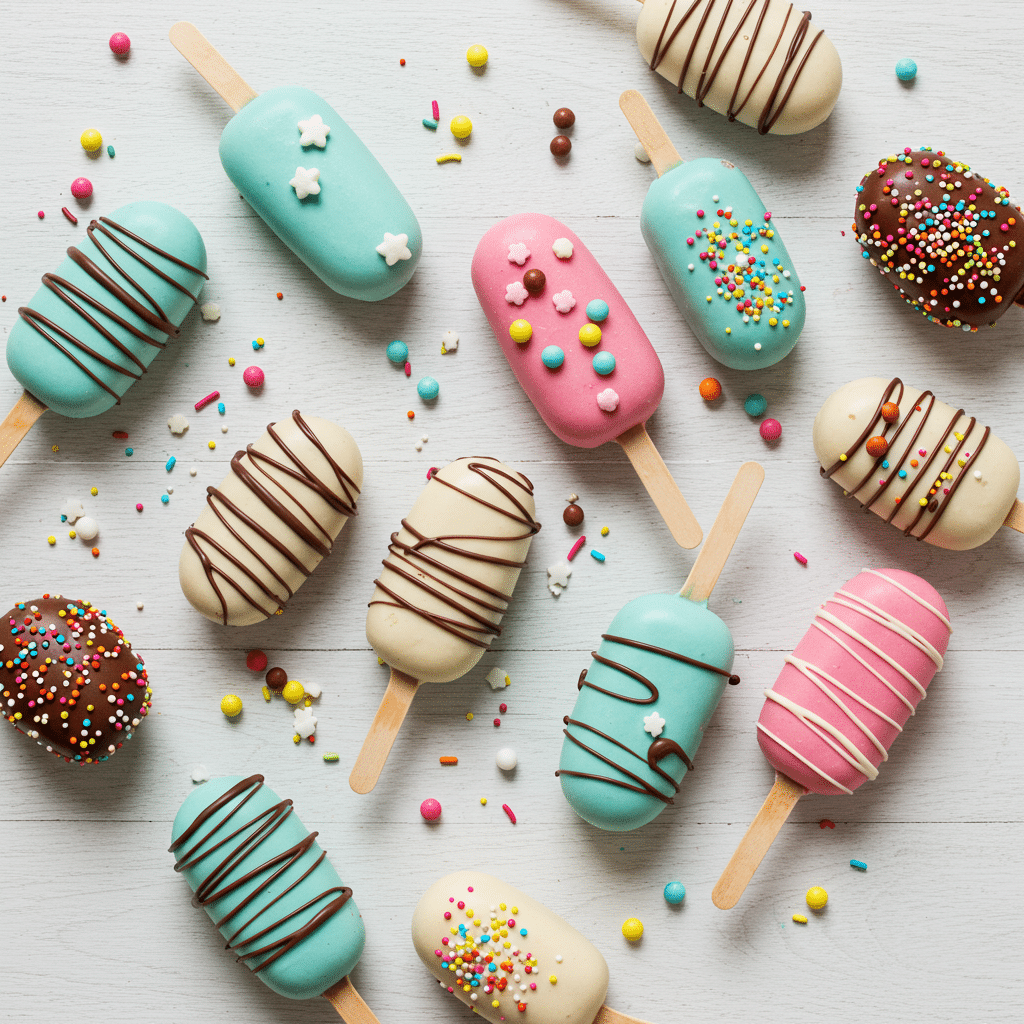
Now, the fun begins: drizzle with contrasting chocolate, add sprinkles, or even edible glitter. You can find similar decoration tips in our No-Bake Unicorn Bars, another reader favorite.
Once unmolded, your cake popsicles will look—and taste—like they came straight from a boutique bakery.

Conclusion: Sweet, Simple, and Always a Hit
There’s a reason the cake popsicles recipe has become a favorite in kitchens everywhere—mine included. It’s playful, easy, and incredibly versatile. From birthday parties to rainy-day treats, these no-bake desserts offer a creative way to turn simple ingredients into joyful moments.
Every batch is a chance to make memories, just like I did with Lily that afternoon. Whether you’re a seasoned home cook or just getting started, this recipe fits right into your sweet story. So grab your molds, melt that chocolate, and create your own delicious chapter—one cake popsicle at a time.
For more recipes follow me in facebook and pinterest.
cake popsicles recipe faq:
How far in advance can I make cake popsicles?
You can make cake popsicles up to one week ahead of time if stored in the refrigerator. If you want to prepare them even further in advance, freeze them individually wrapped—they’ll keep well for up to three months without losing flavor or texture.
What is the trick to making cake pops?
The key to a successful cake popsicles recipe is texture. Your cake and frosting mixture should be firm yet pliable—not too wet or crumbly. Also, be sure to chill your chocolate shells before adding filling to prevent cracking or misshaping during assembly.
Can you make cake pops and freeze them?
Yes, cake pops and cake popsicles freeze beautifully. Wrap each one in plastic or parchment paper, place in an airtight container, and freeze for up to three months. Thaw them in the refrigerator overnight before serving for best results.
What ingredients do you need for cake pops?
A typical cake popsicles recipe includes crumbled cake, frosting, and a coating like chocolate or candy melts. You’ll also need cakesicle molds and sticks. Optional ingredients include sprinkles, edible glitter, or flavored extracts for a custom twist.

